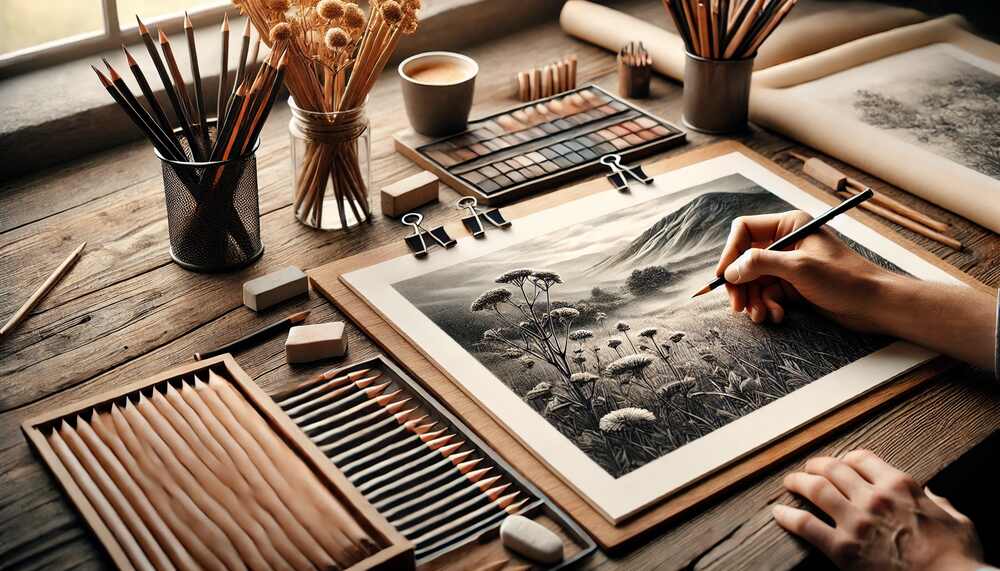
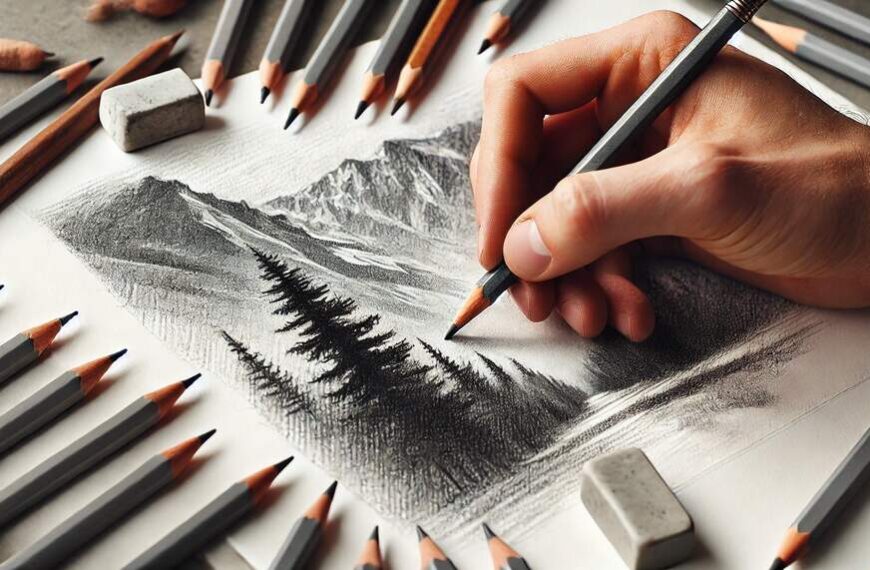
Creating a beautiful pencil drawing is both a craft and an art form. For beginners and seasoned artists alike, pencil drawings can range from simple sketches to highly detailed masterpieces. Learning to master pencil drawing takes patience, practice, and the right techniques. In this guide, we will cover five essential steps to help you refine your skills and create compelling pencil drawings that capture the essence of your subject. Let’s dive into the key practices that can help you master pencil drawings.
Step 1: Gather the Right Materials
While it may seem obvious, having the right tools is crucial for quality pencil drawings. The quality and type of pencils, paper, and other materials you use can greatly influence the final look of your work. Here’s a breakdown of the essential materials:
Types of Pencils
Pencil types are classified based on their hardness, ranging from very soft to very hard. Softer pencils (marked as “B” pencils) create darker, smoother lines and are great for shading, while harder pencils (marked as “H” pencils) are better for fine, detailed lines. The most commonly used pencils for pencil drawings include:
- 2H and H pencils for lighter, preliminary sketches.
- HB and B pencils for medium tones and basic sketching.
- 2B to 6B pencils for deeper shading and more expressive, dark lines.
Having a range of pencils allows you to experiment with different line qualities and shading techniques.
Paper Selection
The type of paper you use can also make a significant difference. Smooth paper is ideal for intricate details, while textured paper, often called “tooth” paper, is great for adding depth and softness to a drawing. Thicker paper is also more durable and can handle repeated erasing or layering of graphite. Some popular choices include:
- Bristol paper for smooth, detailed work.
- Watercolor paper for textured, expressive shading.
- Drawing pads with medium textures that suit general use.
Other Tools
Apart from pencils and paper, some additional tools can enhance your drawing experience:
- Erasers: A kneaded eraser is useful for lifting graphite without leaving residue, while a standard eraser is better for clean, sharp corrections.
- Blending tools: Tools like blending stumps, tortillons, and even tissues can help you create smooth gradients and blend different shades seamlessly.
- Rulers and compasses: These are essential for technical or geometric drawing.
Step 2: Start with Basic Sketching
The foundation of any pencil drawing lies in a good initial sketch. Sketching allows you to establish the layout, proportions, and composition before diving into details and shading. Here’s how to approach the initial sketching phase:
Establish Basic Shapes and Proportions
Before focusing on details, it’s essential to break down your subject into basic shapes. For example, when drawing a face, you can start with an oval for the head and divide it with lines to map out the placement of eyes, nose, and mouth. This step is important because it helps maintain accurate proportions and ensures that different elements are in harmony.
Use Light, Loose Strokes
In the beginning stages, use light, loose strokes instead of pressing hard on the paper. Light strokes make it easier to adjust any mistakes without leaving visible marks. It’s common for artists to use an H or 2H pencil for this stage, as it allows for fine, easily erasable lines.
Build on the Structure
Once you have the basic shapes in place, start refining them gradually. This is where you add more detail, such as outlining the edges of specific features. Think of this phase as a way to create a roadmap for your drawing. Building a structured foundation makes the drawing process smoother and helps prevent inaccuracies that can disrupt the final piece.
Step 3: Master Shading Techniques
Shading is one of the most crucial aspects of pencil drawings. Proper shading can give a two-dimensional drawing a realistic, three-dimensional appearance. There are various techniques you can use to achieve different effects, and mastering these techniques will greatly improve the quality of your pencil drawings.
Hatching and Cross-Hatching
Hatching involves drawing parallel lines close together to create shading, while cross-hatching involves layering lines in different directions. These techniques are great for creating depth and texture. Cross-hatching, in particular, is useful for adding value to areas of high contrast or for depicting surfaces like fabric or hair.
Blending and Smudging
Blending and smudging create smooth gradients and soft transitions between light and dark areas. You can use a blending stump, cotton swab, or even your finger to soften the graphite and achieve a more realistic look. However, be careful not to over-blend, as it can lead to a loss of texture and make the drawing appear overly smooth.
Stippling and Scumbling
Stippling involves creating a series of small dots to form a textured shading effect, commonly used for detailed areas or small highlights. Scumbling, on the other hand, involves circular, overlapping motions to create a softer, more chaotic texture. These techniques work well for creating textures like skin or foliage.
Layering and Building Values
Layering is a technique where you apply multiple shades of graphite to build depth and achieve realistic values. Start with lighter tones and gradually build up to darker shades. This approach is essential for creating a balanced composition, where shadows and highlights interact naturally.
Step 4: Understand Light and Shadows
To make pencil drawings appear realistic, it’s crucial to understand how light and shadows work. Observing how light interacts with your subject will help you place highlights and shadows in the right areas. Here are some fundamental principles to guide you:
Identify the Light Source
Before you begin shading, determine the direction of the light source. Whether it’s coming from above, the side, or behind the subject, the light source will influence where the highlights and shadows fall. Visualizing this early in the process helps in creating consistent shading throughout the drawing.
Understand Types of Shadows
There are typically two types of shadows in pencil drawings: cast shadows and form shadows. Cast shadows are created when the object blocks the light, casting a shadow on the surface below. Form shadows are the darker areas on the object itself, where the light gradually fades into darkness. Distinguishing between these types will add depth to your drawing.
Create Gradients for Realism
Gradients help create a smooth transition between light and dark areas, which is essential for realism. Use different shading techniques to achieve this, such as blending and layering. When done correctly, gradients make your drawing look three-dimensional, as they reflect how light naturally interacts with objects.
Step 5: Add Final Details and Polish the Drawing
After establishing the basic form, proportions, shading, and lighting, the final step is to add details and polish the drawing. This is where you can really bring your pencil drawing to life by refining edges, enhancing textures, and making small adjustments.
Refine the Edges
Carefully go over the outline of your subject to make sure the edges are well-defined. Use an eraser to clean up any smudges or unnecessary lines around the edges. A sharp pencil can help in adding fine lines that sharpen the drawing and make it appear more precise.
Enhance Highlights and Shadows
Using a kneaded eraser, you can lift small areas of graphite to create highlights. This technique is effective for adding shine to areas such as the eyes, hair, or reflective surfaces. Darkening shadows in select areas can add contrast and make the highlights more prominent, giving the drawing a dynamic look.
Add Texture for Realism
The final details, such as hair strands, skin texture, or fabric folds, can elevate your drawing. Use stippling, cross-hatching, or scumbling techniques to add texture where necessary. These small, intricate details help make your drawing look more realistic and capture the viewer’s attention.
Step Back and Evaluate
Once you’re finished, take a step back and look at your drawing from a distance. This allows you to spot any imbalances or inconsistencies in shading, proportion, or detail. Make any necessary adjustments to bring out the best in your drawing. Sometimes, small tweaks can make a big difference in the overall impact of your work.
Conclusion
Mastering pencil drawings is a journey that requires patience, practice, and a keen eye for detail. By following these five steps—gathering the right materials, starting with a basic sketch, mastering shading techniques, understanding light and shadows, and adding final details—you can significantly improve your pencil drawing skills. Remember that each drawing is a learning experience, so don’t be discouraged by mistakes. Instead, use them as opportunities to refine your technique and grow as an artist.
With time and dedication, you’ll be able to create pencil drawings that are not only realistic but also uniquely expressive. So grab your pencils, pick a subject, and start sketching—each drawing you complete brings you one step closer to mastering the art of pencil drawings.
Also read interesting articles at Amazing Posting
